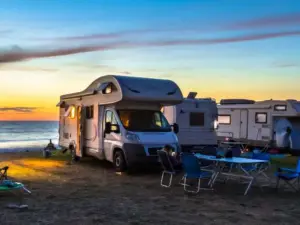
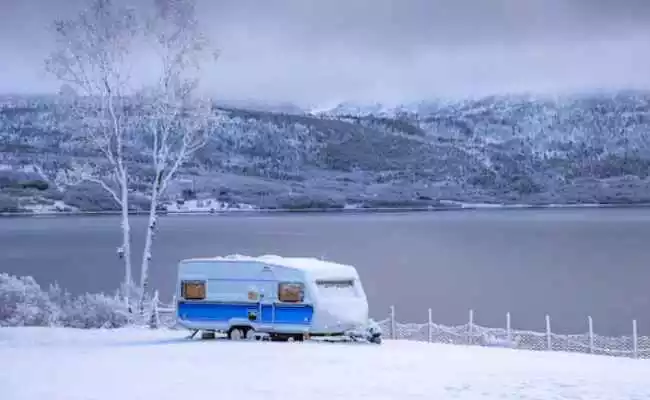
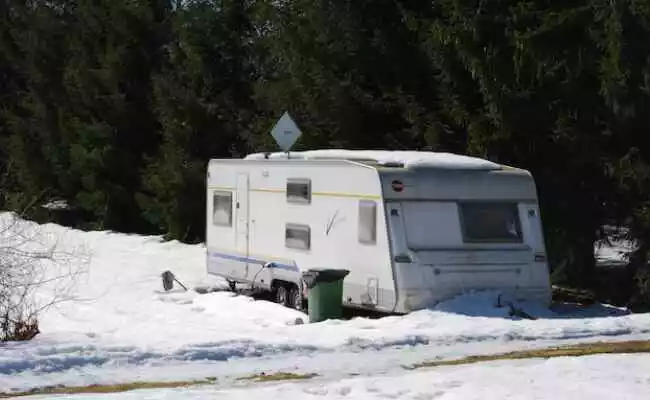
The tail-end of the camping season is a signal for many RV owners that it’s time to winterize their RV. Depending on where you live, storing your recreational vehicle during the off-season can be a delicate task.
The RV plumbing system is notoriously vulnerable to damage under cold weather. Therefore, some extra steps are required to ensure that your rig will remain protected through winter.
Read here to learn about RV dishwashers.
Read here to learn about microwave for an RV.
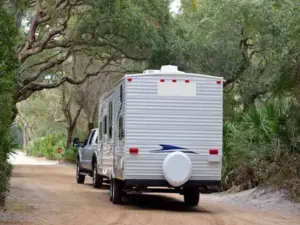
How to Winterize Your Camper?
Fortunately, manufacturers have made it possible to winterize your RV on your own. As long as you can set aside time and resources for it, then follow the checklist we’ve listed below, you should be able to protect your RV and enjoy some savings to boot!
What Tools Do You Need to Winterize Your Travel Trailer RV?
The first step in any DIY is to prepare the components needed for the job. Some of the tools you’ll need might already be in your garage, while others should be available at your local hardware or RV maintenance shop.
Winterizing your RV is mostly about protecting your pipes from freezing temperatures. In order to do so, the following tools and equipment should be on top of your list:
- Potable RV antifreeze
- Water heater bypass kit (if your RV is not equipped with one)
- Basic hand tools to remove and install drain plugs
- Non-abrasive exterior cleaner, roof cleaner, or roof and exterior sealant
Additional equipment or solutions might be required depending on your RV’s condition. For example, a few desiccants or drying agents for your interior can help limit the build up of mold and mildew during hibernation.
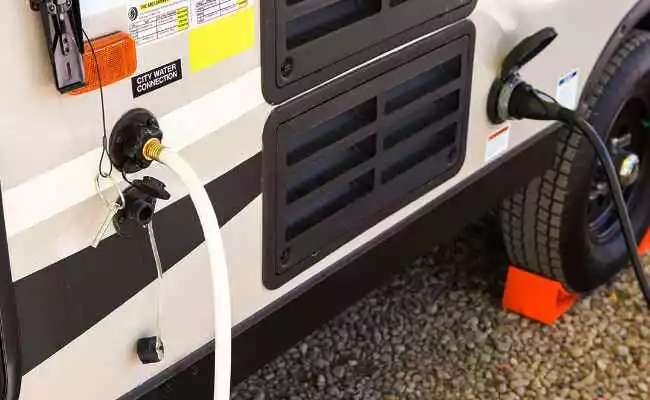
Remove Water Filter and Drain Plug
Most RV insurance policies do not cover damage from frozen water because it’s an incident that can be avoided. Therefore, you will need to remove or bypass any inline water filters since antifreeze can damage them during the winterization process. You should also remove drain plugs to fully drain your water lines and tanks.
If your RV doesn’t have a bypass system in place, you can visit a local facility to have one installed. Alternatively, you can blow out water lines via an air compressor if you already have the equipment on hand. This process will also leave your pipes and plumbing system dry before the freezing temperature kicks in.
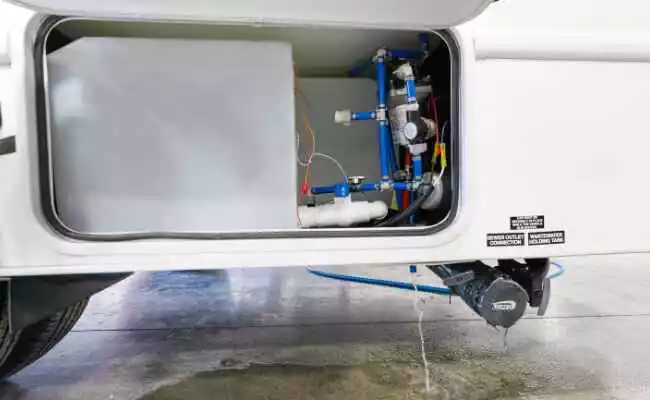
Drain and Flush the Black and Gray Water Tanks
Gray water tanks typically hold water from the RV shower, bathroom, and kitchen sinks. Meanwhile, black water tanks are commonly used to collect water flushed down the toilet bowl.
Emptying these tanks require proper facilities and equipment, and should be done regularly to avoid contamination. You can empty your holding tanks in any order although the gray ones tend to fill up faster. We recommend checking your manual for tools and instructions on proper disposal for each tank.
In general, you should wait until your holding tanks are two-thirds full before dumping them. But if you are taking these steps to winterize your RV, then you can simply add water to make up for the difference and proceed as normal.
Some states have designated dumping stations while others permit locals to legally dispose of waste at home. As such, it’s best to check and observe all local regulations when draining your black and gray tanks.
Drain and Flush the Water Heater Tank and Plumbing Lines
You would want to drain all tanks in your RV in preparation for winter. Aside from the aforementioned gray and black tanks, you will need to drain the freshwater tank and the water heater tank. In most cases, you are encouraged to drain the latter at the end of every season.
An important reminder is that the water heater should not be hot or under pressure when it is being drained. Therefore, turn the water heater off and let it cool during the inspection or draining process. Your manual will also give more detailed and precise instructions depending on your rig.
Bypass the Water Heater
RVs also tend to have a system that can bypass the water heater. This can save you significant time and resources since pumping antifreeze into the water heater requires double the amount commonly required to drain the water lines.
If you don’t have any bypass installed, then you can visit your local shop to have one installed for your water heater.
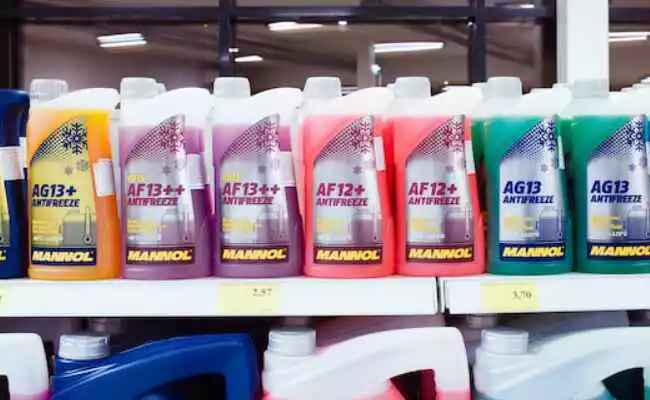
Add RV Antifreeze
You may install a water pump converter kit, or disconnect the inlet side of the water pump and insert a piece of tubing to allow the pink antifreeze to effectively enter the water supply system.
Generally, these are the steps for pumping antifreeze:
- As you pour antifreeze into the water lines, reach for the nearest faucet and turn on the cold and then the hot water supply until the solution comes out. It’s usually a pink fluid!
- Do this with each faucet as well as the outdoor shower.
- Then, flush the toilet until you see antifreeze.
- Once done, pour one (1) cup of antifreeze down each drain, including the shower drains.
- Finally, you can then close all the faucets.
Each specific water system has its own winterization guidelines, so do refer to your owner’s manual for additional instructions.
Do I Need to Pump Antifreeze to the Fresh Water Tank?
Non-toxic RV antifreeze is generally safe after draining your water system a few times. However, it’s not required nor advisable to add antifreeze to your RV’s freshwater tank or water heater.
How Much Antifreeze Do You Need To Winterize A Travel Trailer?
You will typically need 3-4 gallons of RV antifreeze to drain a standard RV plumbing system. If you don’t have a water heater bypass valve or system installed and opted to pour RV antifreeze on the water heater, then that’s an additional 4-6 gallons on average.
How To Winterize A Travel Trailer Without Antifreeze?
If you’re looking to winterize your RV without antifreeze, then you can use air pressure to drain the RV’s plumbing system.
In the compressed air method, you will need a blow-out plug, an adjustable water pressure regulator, and a tankless air compressor instead of the antifreeze kit.
Air compressor, on its own, is an outstanding equipment to have for RV owners. Aside from providing an eco-friendly solution to winterizing your RV, it’s also handy in airing up tires, inflating mattresses, blowing up toys and sports balls, etc.
Getting your own portable air compressor might be a bigger upfront investment, but its long-term application would make the purchase definitely worth it.
How Much Does It Cost to Winterize Your RV or Travel Trailer?
For the most part, the cost to winterize your RV via the local shop should set you back around $130 to $200. This maintenance cost doesn’t account for pest prevention or electronic device protection, which are just as important as protecting your RV from the winter weather.
Why Do You Need to Winterize Your RV or Travel Trailer?
One of the quickest ways to total your RV or camper trailer is to let it sit there through the winter unchecked. Failing to winterize your RV and properly drain the RV’s plumbing system will lead to burst pipes under freezing temperatures. It’s an expensive mistake to make, but one that can also be easily avoided.
Keep Your Travel Trailer in Good Shape and Winterize Your Travel Trailer
Learning how to winterize your travel trailer is an efficient skill that all RV owners must strive to have. On top of the possible savings to gain, the practical know-how that comes with it is invaluable for keeping your travel trailer in the best shape for years to come. If you’re interested in learning more tips when it comes to maintaining your camper, then don’t forget to bookmark our blog and check out our related posts and tips for all RVers and outdoor enthusiasts.
Read here to learn the differences between RV vs camper vs travel trailer.
Read here to learn about the best travel trailer brands.